
I thought I would share with y'all how I made the Trick-or-Treat bags for my kids. I followed some basic instructions, with a few minor changes. Now, this is my first tutorial, so please bear with me if it is not very good. I apologize for the pictures ahead of time, since I didn't have help with this. I had to hold the pieces up and take a picture at the same time. Not always an easy task.
What you'll need:
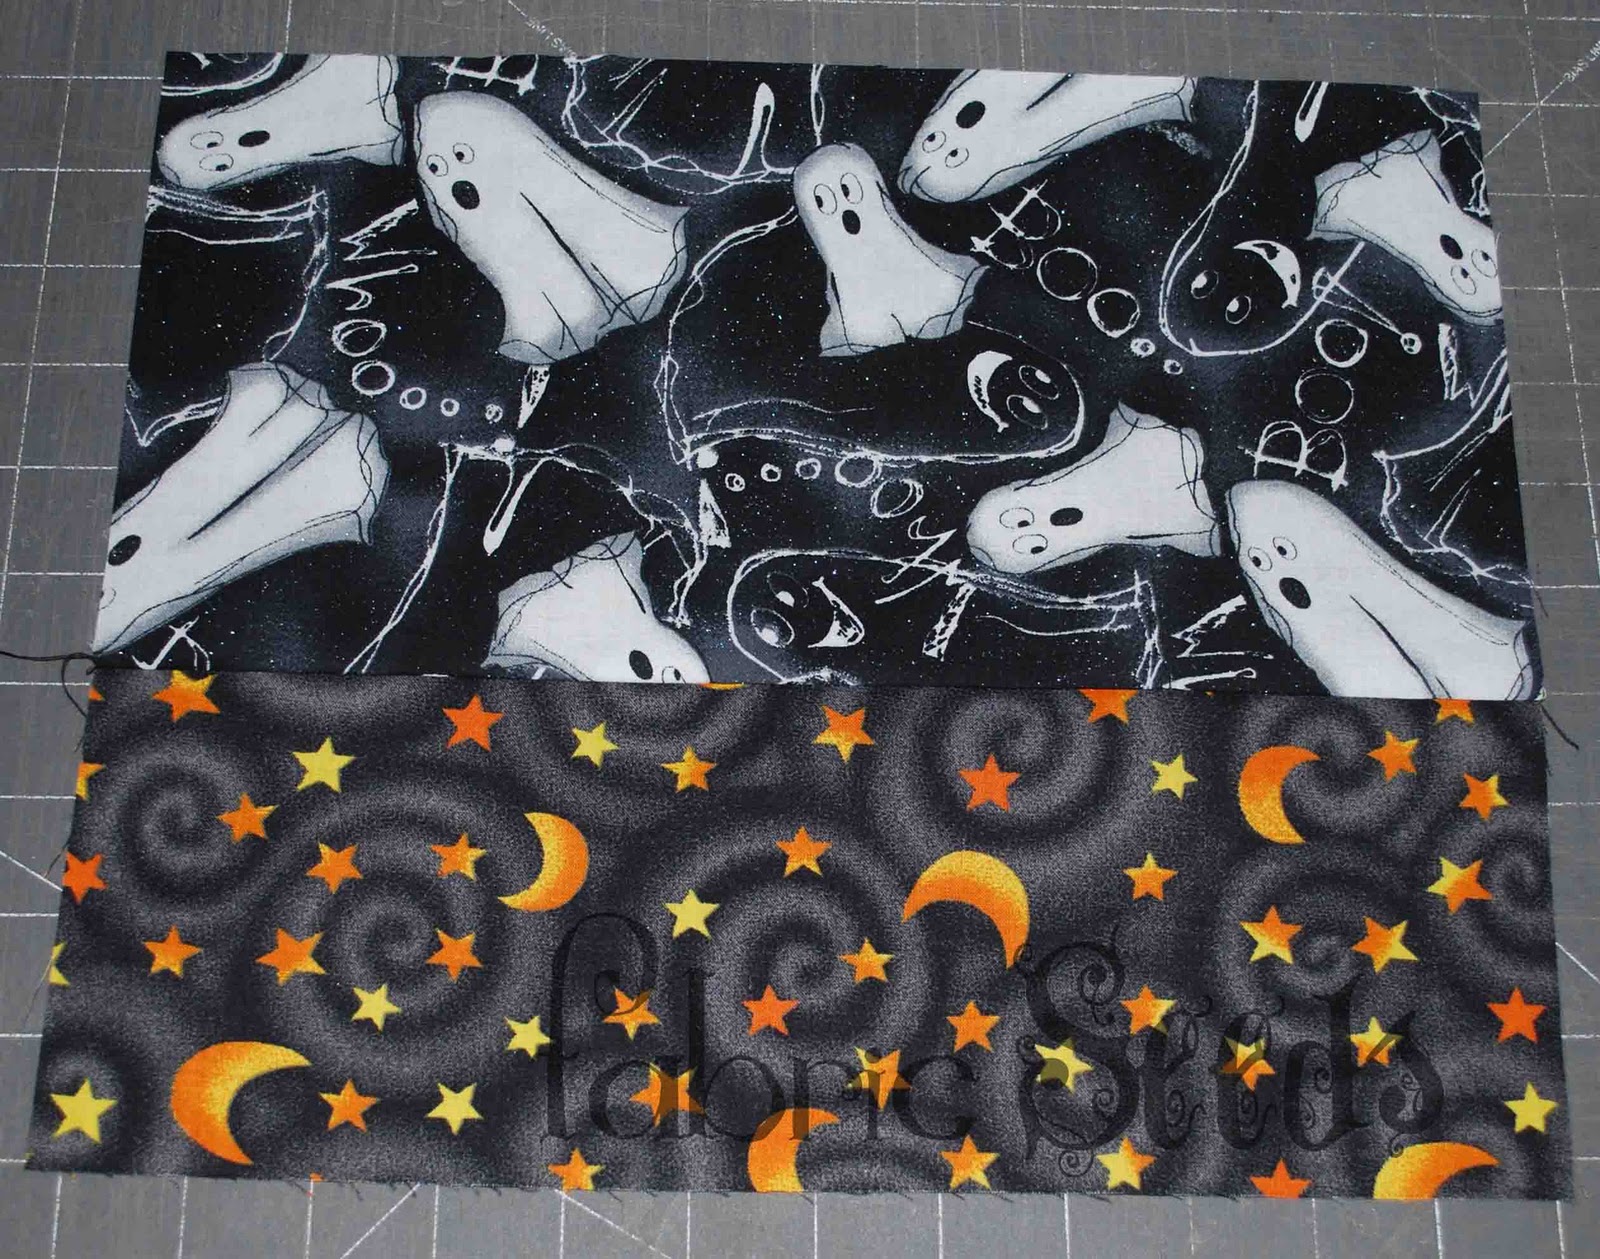
1 top fabric
1 bottom fabric
1 liner fabric
1 handle fabric
(If using fat quarters, you will need 2 for the lining)

Cutting:
From the top fabric, cut 2 pieces measuring 6 1/2 x 12 1/2
From the bottom fabric, cut 2 pieces measuring 4 1/2 x 12 1/2
For the liner, cut 2 pieces measuring 10 1/2 x 12 1/2
For the handles, cut 2 pieces measuring 2 1/2 x 12 1/2
20 inches of 1/2 inch thick rope (I went to Lowe's. You can buy it by the foot.)

Assembly:
Using a 1/4" seam, attach the top and bottom pieces, right sides together.

Press seam toward top fabric for one block, and press seam toward bottom fabric for second block.


Fold the fabric for handles in half so right sides are together.


Sew and turn right side out. Do not press.

Cut 2 pieces of rope each measuring 10" long.
Insert rope into turned handles.


Pin one side of the handle to the top of the bag, right side facing, 2 1/2 inches from the end. Extend handle end 1/4 inch from the bag edge.


You should have about an inch of remaining handle on each of the rope ends.

Pin one side of the handle to the top of the bag, right side facing, 2 1/2 inches from the end. Extend handle end 1/4 inch from the bag edge.

Sew into place.
Pin the opposite side of handle in the same manner. (push the rope as close as you can to the first seam. this will help with sewing the other side of the handle.) Repeat for the second block.
With right sides facing, attach the liner to the top of the bag.
Press.

Open.

With right sides facing, align both pieces so liner faces liner and bag top faces bag top.
Start about 1/3 from the bottom corner of the liner and sew along all edges, stopping about 1/3 from the opposite corner of the liner. You should have about 3-4 inches open in the middle of the liner.

Fold each corner of the bag so it makes a triangle.
Mark a line 2 inches deep and 4 inches wide creating a triangle end.


Pin and stitch.


Cut 1/4 inch from the seam line.

This next part can get a little tricky.
Take the closest corner of the liner in your left hand and the closest corner of the bottom fabric in your right hand.

Match right sides together; pin.

The bag should be turned inwards. do the same for the opposite side.


The bottom seams and opening should be facing each other when you are through.

Stitch at pins.
Turn bag so you can see the opening at the bottom of the liner. pull bag thru, starting with the handles.
Whipstitch opening of liner together.

Invert bag so liner is in the inside of the bag.


And ... You are done!
I hope this was easy to follow. If you have any questions, please feel free to email me!
I started a Flickr group, so that y'all can share if you make anything from my blog (I have a few more tutorials in the works). I sure would love to see how yours turn out!
(I think I am really bad at flickr. if anyone has any tips, I'd really appreciate it.)
(I think I am really bad at flickr. if anyone has any tips, I'd really appreciate it.)
Can't wait to try this! LOVE the rope in the handles, it makes such a difference! Thanks for sharing!
ReplyDeleteThanks for showing the neat trick of joining the lining to the main bag. I managed to do it once and then the next few bags I made, I couldn't remember how I did it. This is bookmarked forever now!
ReplyDeleteI just made one of these for my 6-year-old daughter. The size is perfect and she loves that it's reversible and a great size for lunches. Thanks for the great tutorial.
ReplyDeleteThis comment has been removed by a blog administrator.
ReplyDelete